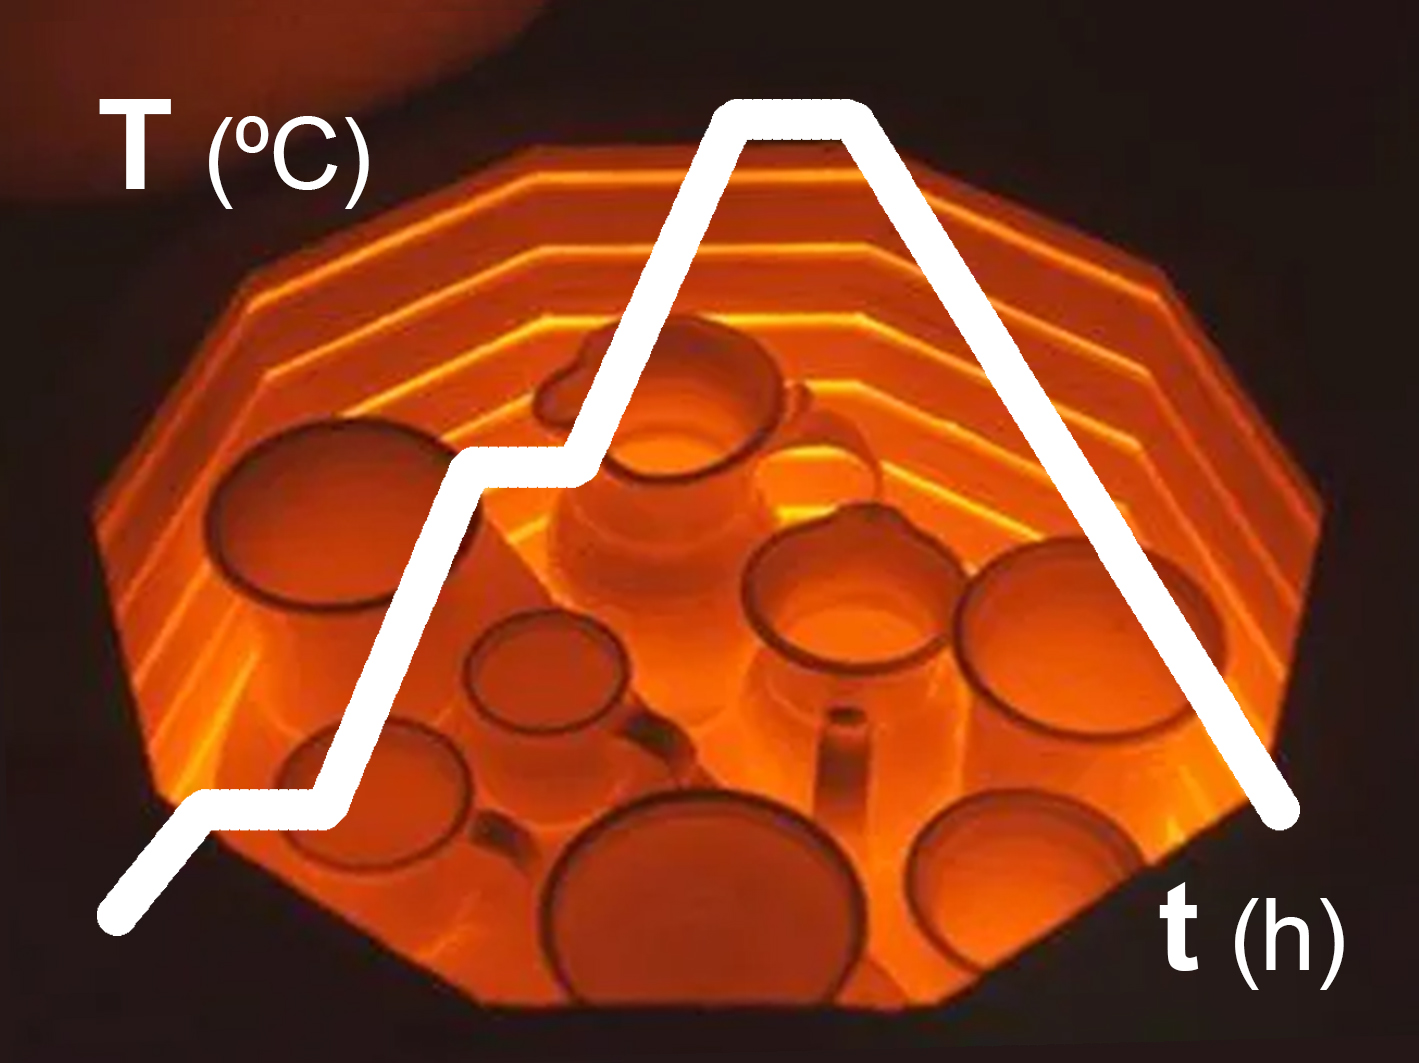
Accurate control of both temperature and hold time during each stage of the firing cycle is essential for achieving consistent results. Modern kilns are equipped with electronic controllers and temperature sensors capable of following the programmed firing curve with great precision, ensuring uniform and repeatable firings.
Even so, the most reliable way to verify the actual outcome of a firing is still the use of pyrometric cones.
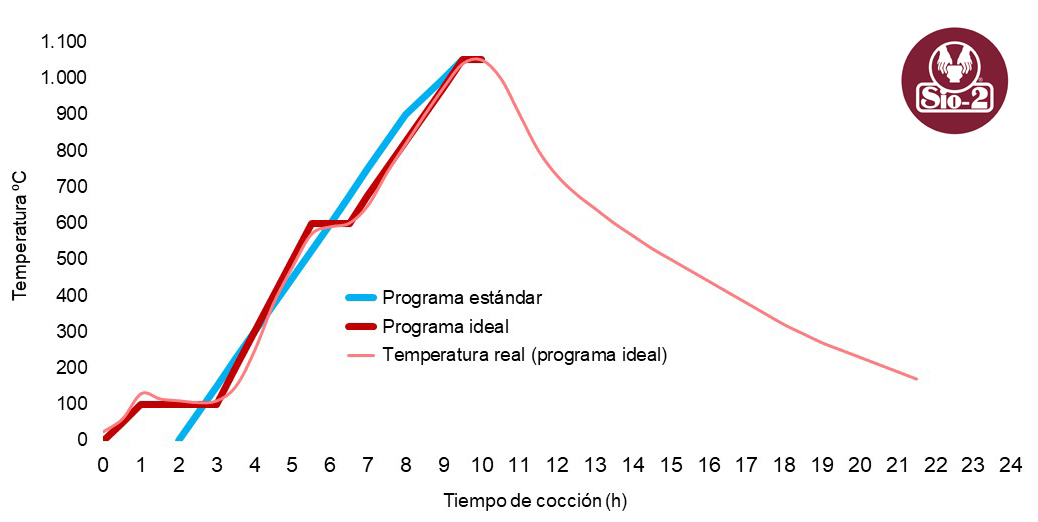
The heatwork received by the ceramic pieces depends not only on the temperature reached but also on the length of time that temperature is maintained, particularly during the final stage of the firing cycle. For this reason, two kilns reaching exactly the same final firing temperature may produce different results.
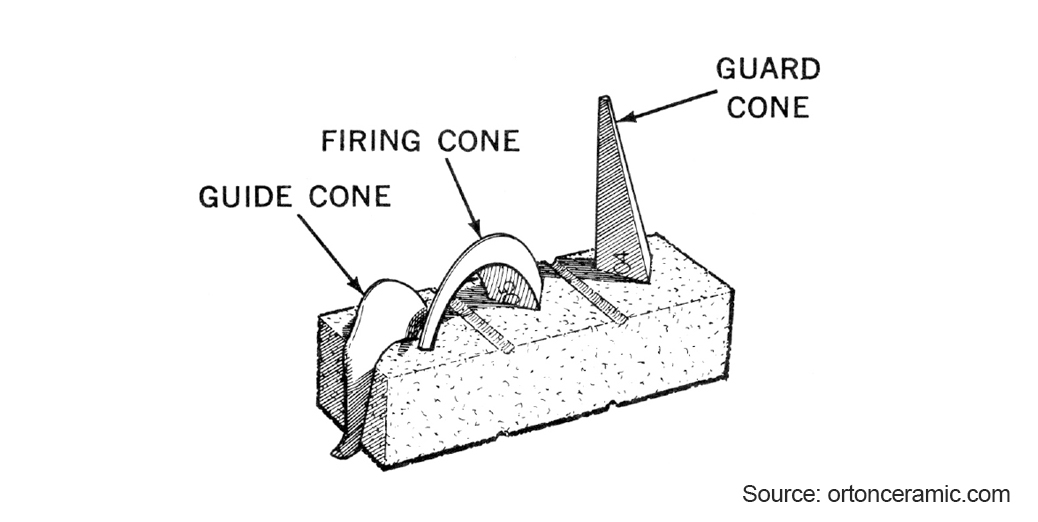
Pyrometric cones are designed to deform according to the amount of heatwork received. During firing they gradually soften and bend. Their final position provides a highly accurate visual indication of the actual heatwork achieved inside the kiln.
Three cones are typically used: the guide cone, which represents a slightly lower firing and should bend completely until it rests on the plaque; the firing cone, which represents the desired firing and should bend to approximately the position recommended by the manufacturer; and the guard cone, which represents a higher firing and should remain virtually undeformed.
If the cones do not bend as expected, it indicates that the heatwork received by the ware has been either insufficient or excessive, regardless of the temperature indicated by the kiln controller.
The firing temperature equivalents published by Orton for pyrometric cones are based on different heating rates. In studio ceramics, the firing programs used by most kiln, clay body and glaze manufacturers correspond to a final heating rate of approximately 60 °C per hour, which serves as the standard reference for interpreting these temperature equivalents.

Comments (20)