- Tips
- 178365 views
- 12 comments
How to Work with Clay: First Steps

Working with natural clay is a creative and relaxing experience. Here you will find practical tips and basic techniques for modelling and shaping your first ceramic creations.
Basic Tips for Modelling Clay
1. Initial Kneading
Before starting, knead the clay to make it uniform and improve its plasticity.
2. Maintain Moisture
If you notice that the clay loses flexibility, slightly moisten your hands. Avoid applying water directly to the clay to prevent oversaturation.
3. Inner Supports
If you need to create your piece using a rigid support (such as a bust), first cover the structure with paper or fabric. A flexible and absorbent material helps prevent cracks during drying, as the clay shrinks when it loses water.
4. Joining Pieces
When joining two pieces, ensure that both have a similar moisture (hardness) level. Differences in shrinkage can cause the pieces to separate during drying.
Essential Tools and Techniques for Modelling

Cutting Wire
Perfect for cutting large blocks of clay.

Wooden Rolling Pin
Use it with uniform-height slats to create even clay sheets.

Large Wire-Loop Tool
Ideal for removing large excesses of clay and shaping pieces like a bowl.

Double-Headed Wire-Loop Tool
Designed for refining details and removing small remnants of clay.

Joining Technique
Before joining pieces, score the surfaces with a spatula or an awl. Then, apply slip with a brush to ensure a strong bond. Slip is liquid clay, which can be prepared separately by mixing clay with water to achieve a liquid texture.

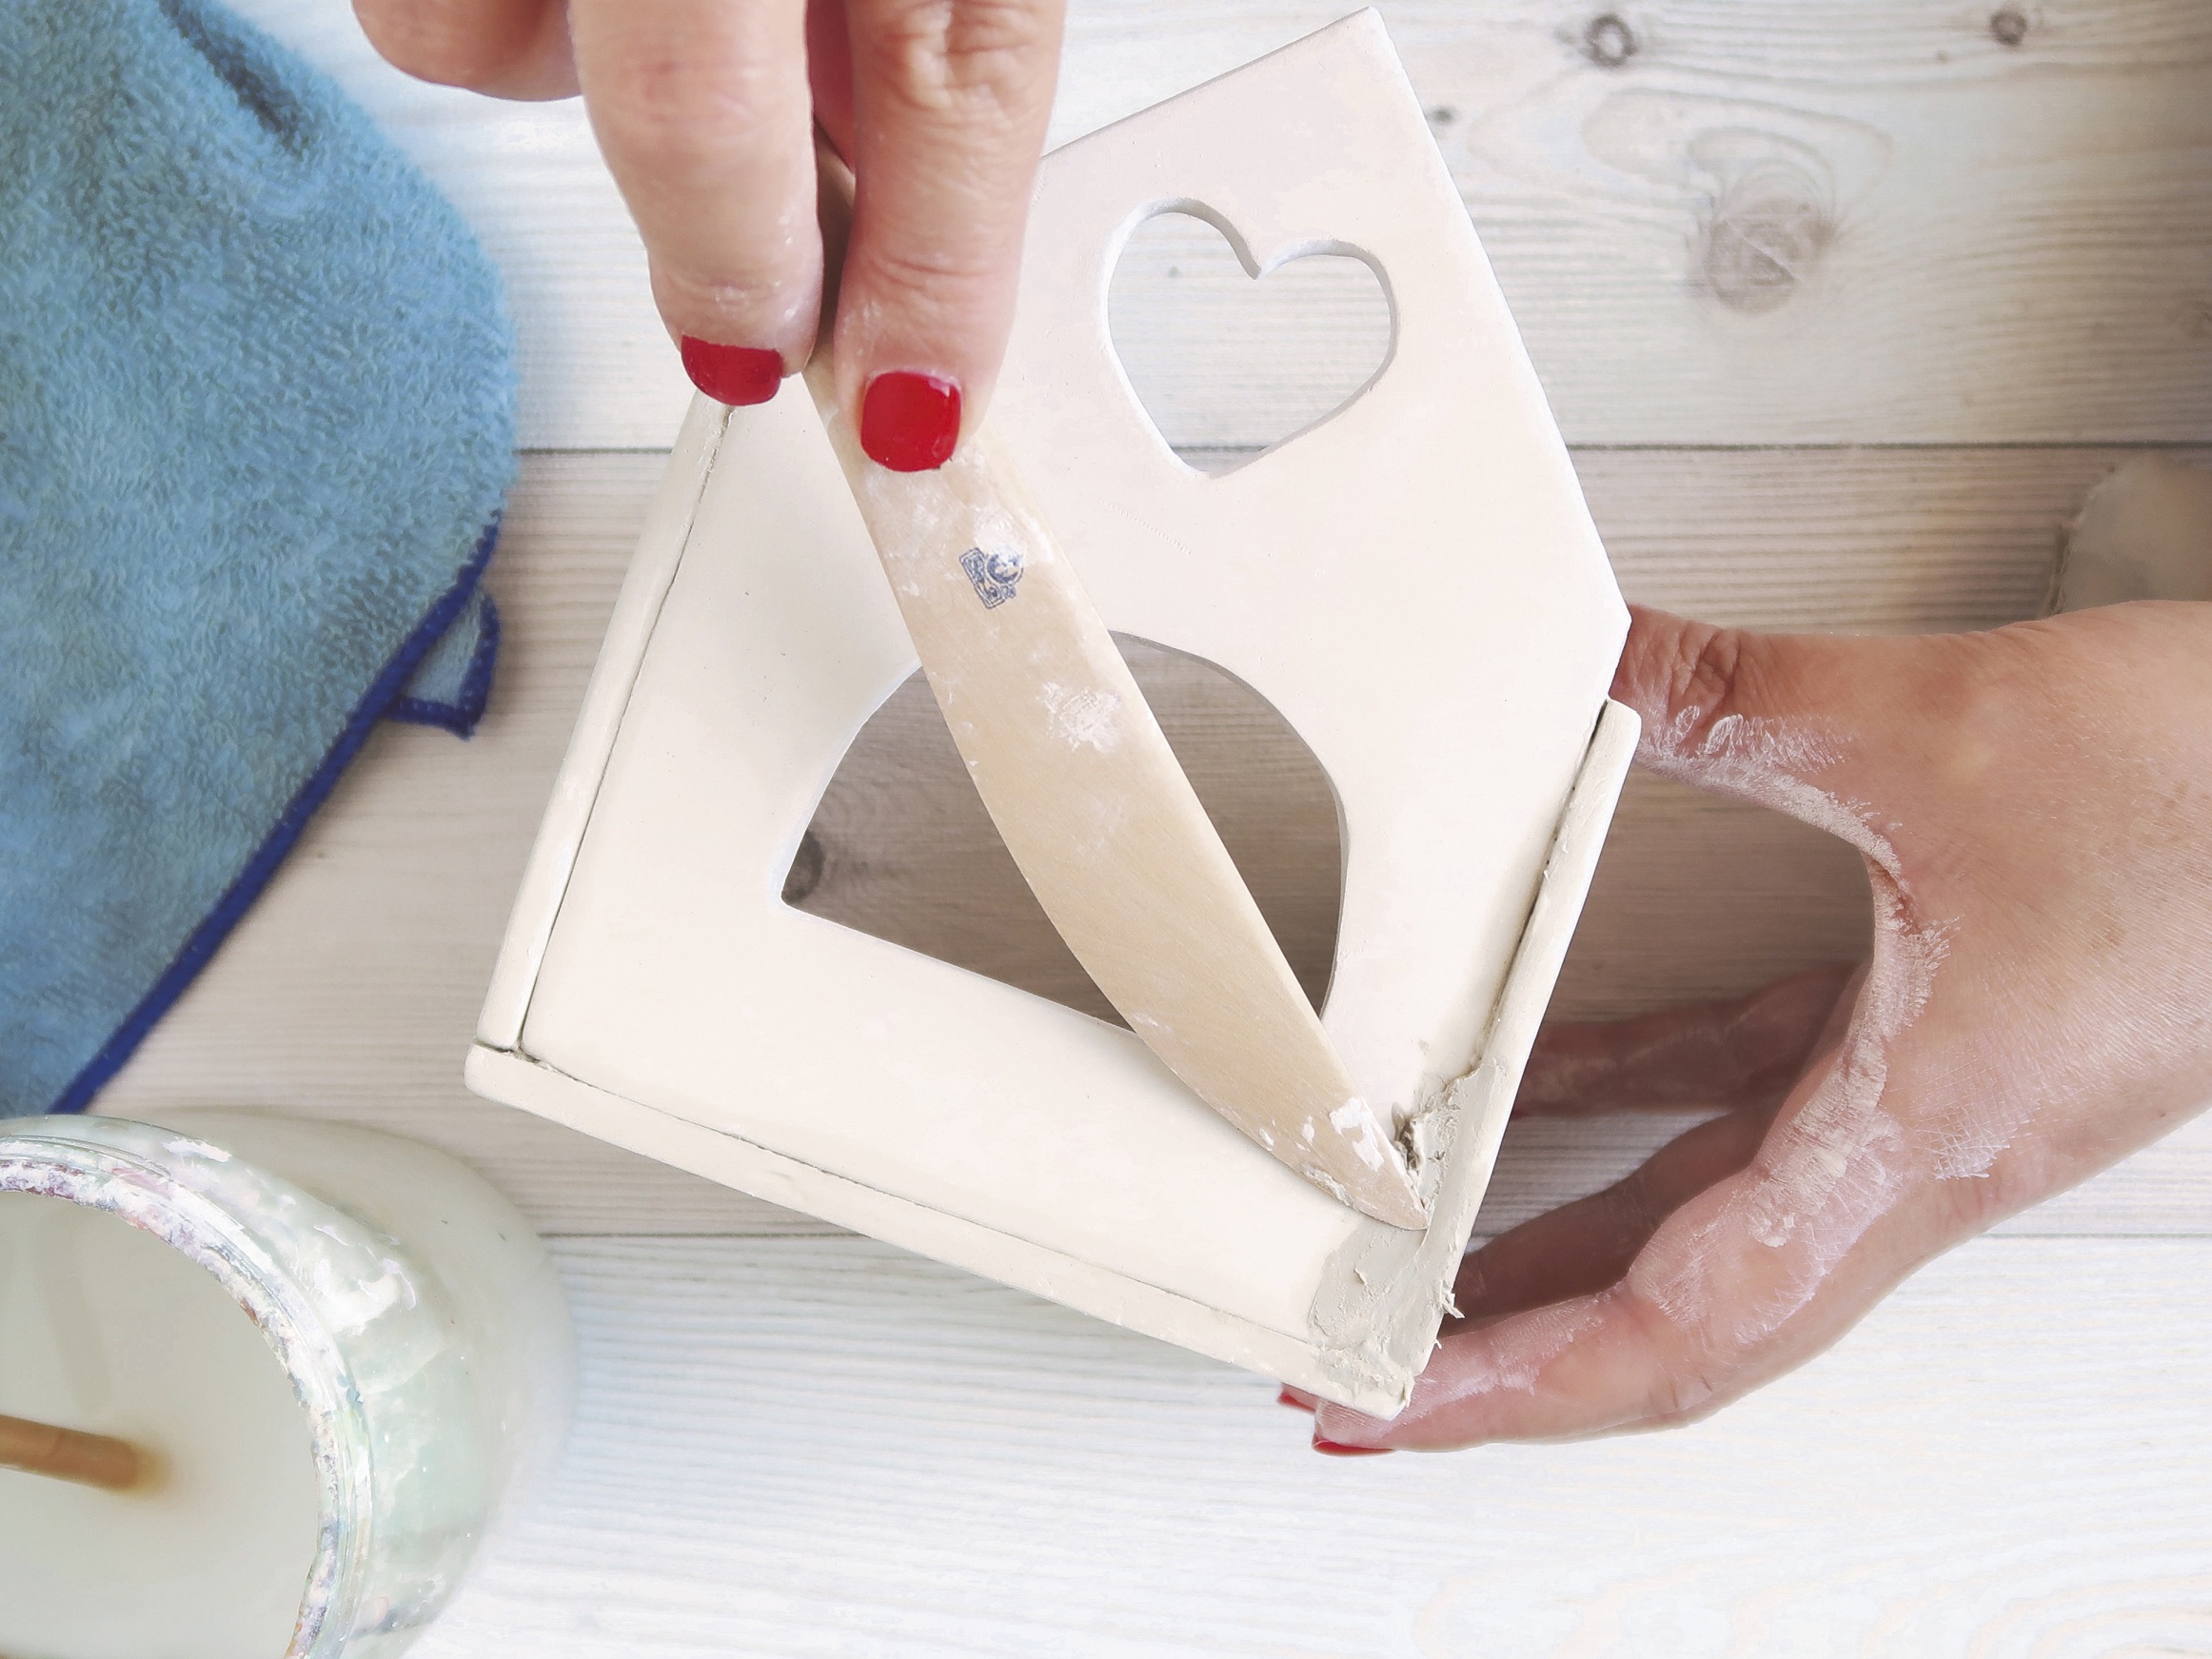
Angle Reinforcement
For angled joints, place a thin roll of clay along the joint, press it, and smooth it with a spatula.

Wooden Rib
The wooden rib is useful for flat surfaces.

Metal Rib
The metal rib is ideal for smoothing curves.

Damp Sponge
Perfect for smoothing and polishing, achieving flawless finishes.
Discover these 8 essential tools in the practical SIO-2 pottery tool kit.
Keys to Optimal Drying
1. Uniform Drying
Let the pieces dry slowly. Avoid direct heat sources and drafts to minimize cracking.
2. Porous Surfaces
Place the pieces on materials such as paper, wood, or plaster to promote drying.
3. Delaying Drying
For large pieces, cover them with partially open plastic sheets to allow moisture to escape slowly.
4. Flat Pieces
When working with tiles or slabs, place a flat weight on top to prevent warping.
5. Drying Time
The average drying time is 1 to 4 days at room temperature, depending on thickness and environmental conditions.
Note: Clay shrinks as it dries. The more water it contains, the higher the risk of cracking.
Proper Storage of Clay
1. Hermetic Seal
Wrap leftover clay in tightly sealed plastic to prevent it from drying out. Remove any air pockets before storing.
2. Softening
If the clay hardens but remains moist, soften it by kneading it with dampened hands.
3. Protection During Work
Cover your projects with plastic or a damp cloth during breaks to prevent them from drying out.
4. Extreme Temperatures
Avoid storing clay at temperatures below 0°C (32°F), as freezing reduces its plasticity.
With these tips and techniques, you are ready to explore the full creative potential of clay. Let’s get to work!
You'll find ideas to create from home on our Instagram @sio2.claycrafts.

Comments (12)