At breakfast or at tea time, alone, with friends, or work colleagues, show off your creativity with your personalized mug. In this easy tutorial we show you how to decorate your mug step by step. Let's start!
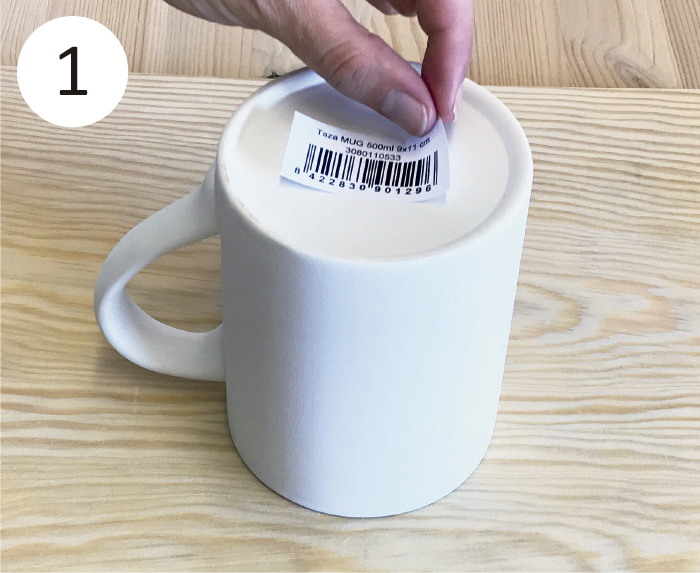
Choose a ceramic bisque mug and carefully clean the outside, inside, and base.
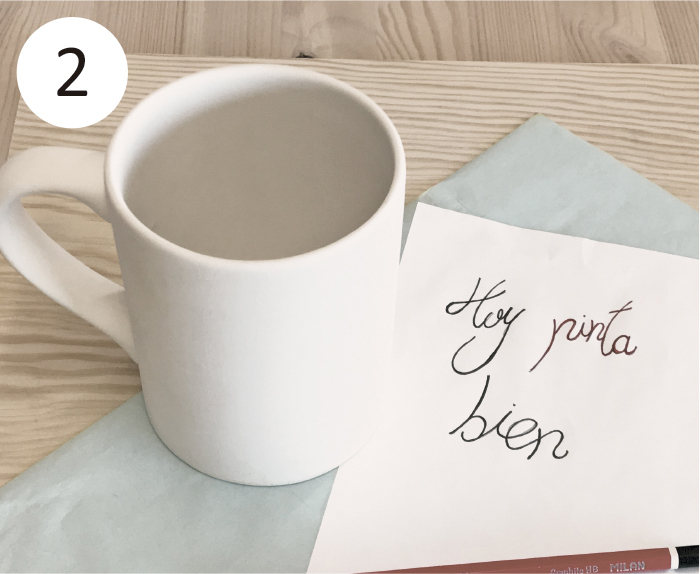
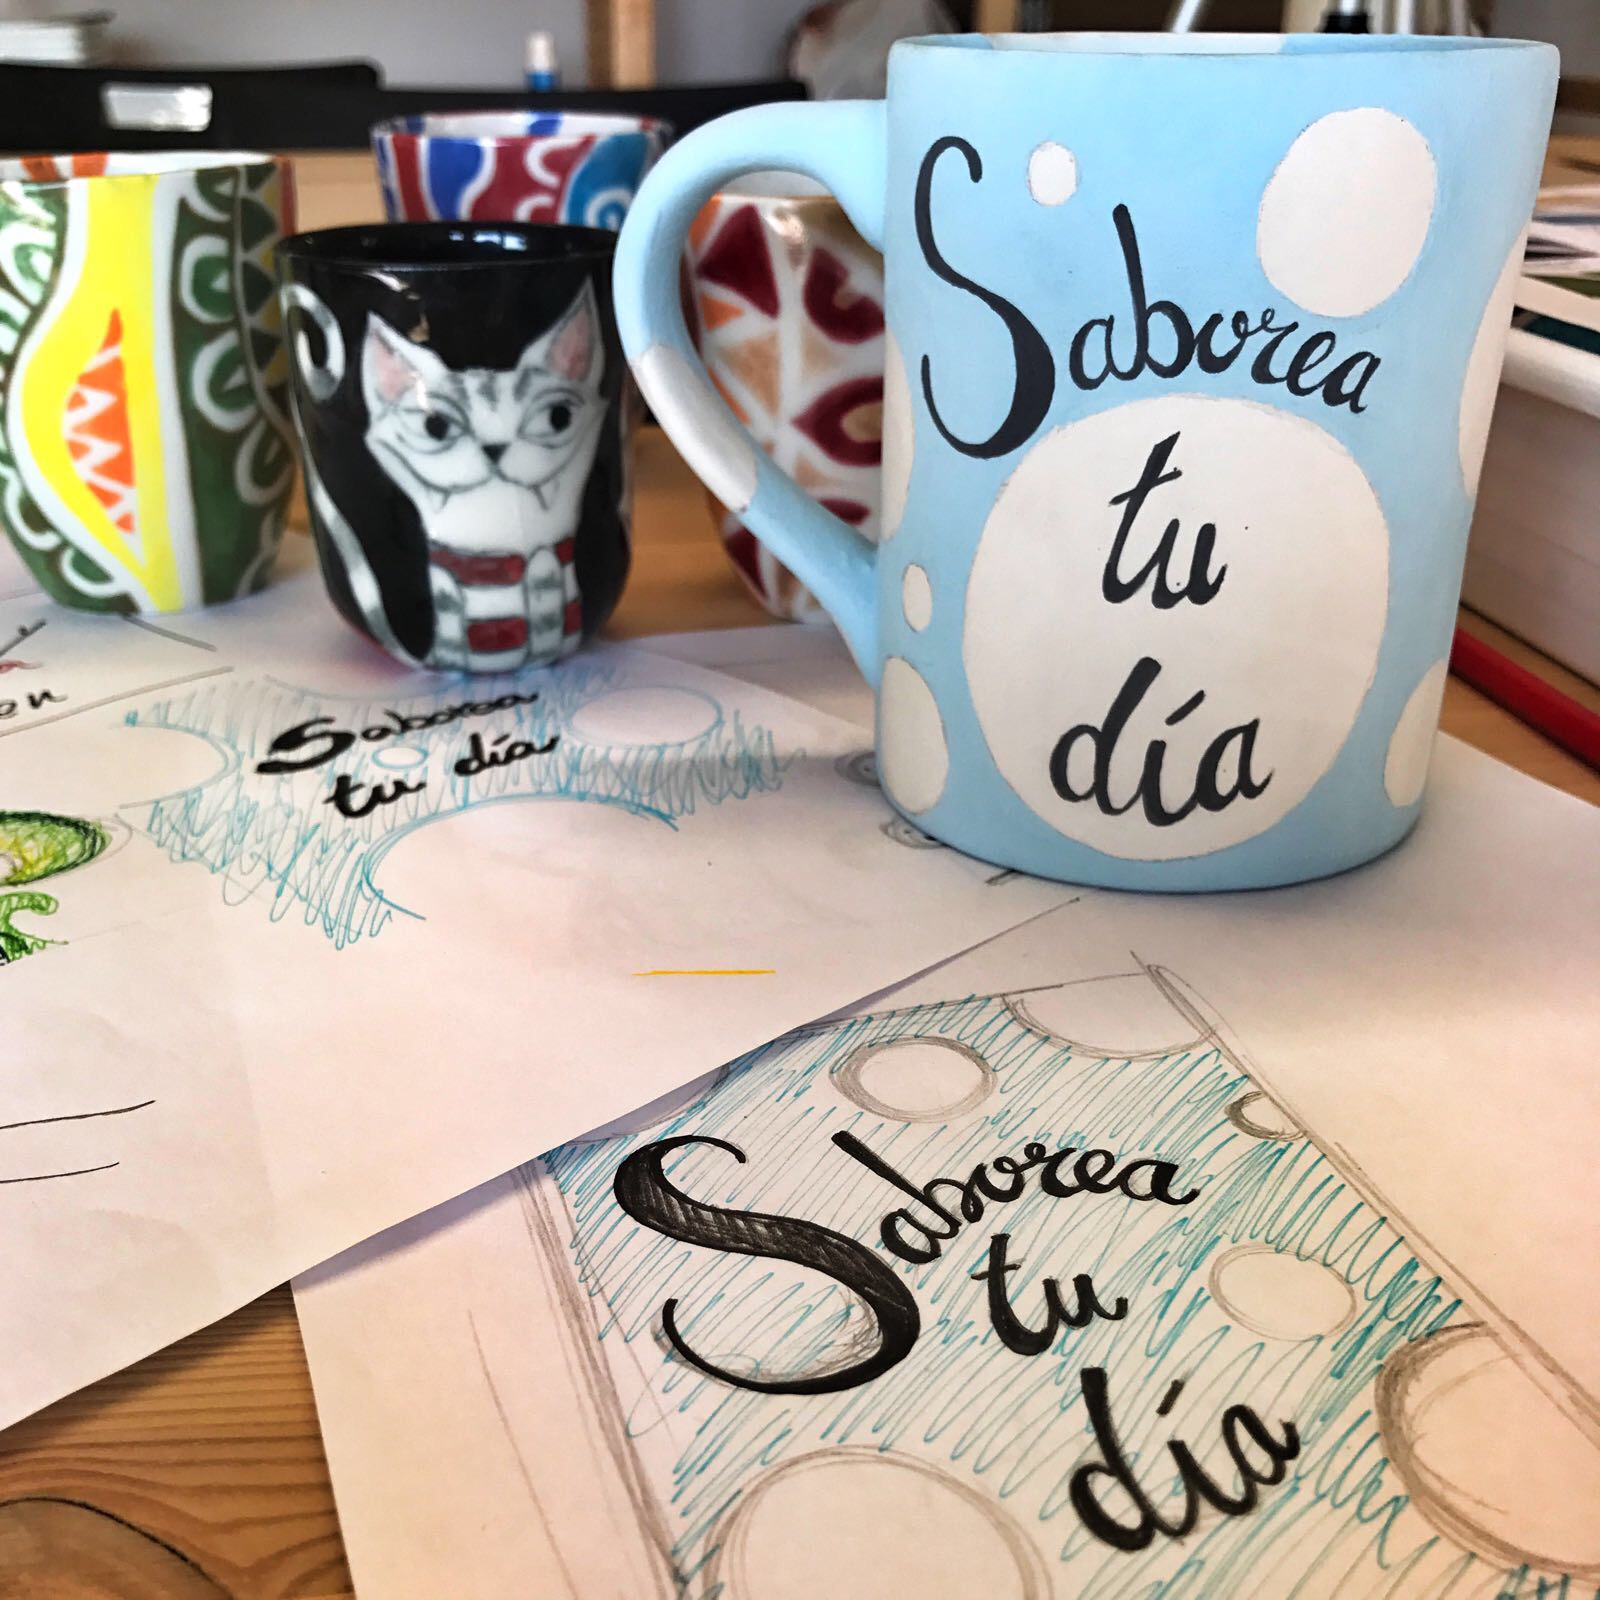
Make the design, on paper, that you will place on the mug. Make your sketch the same size it will be seen.
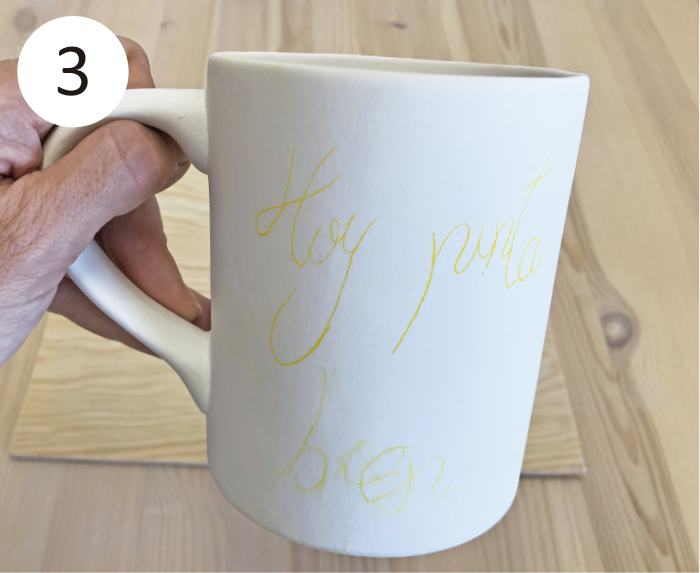
Take carbon paper and trace your design onto the surface of the mug.
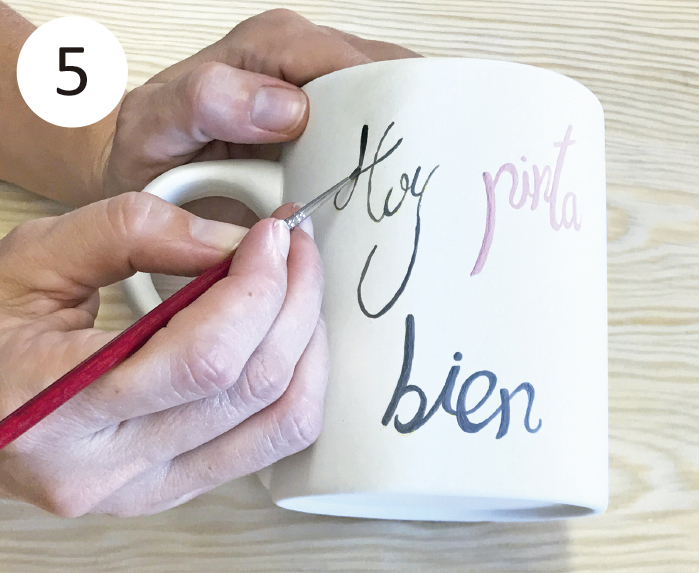
Following the tracing, paint the first colour of your choice with ceramic glaze.
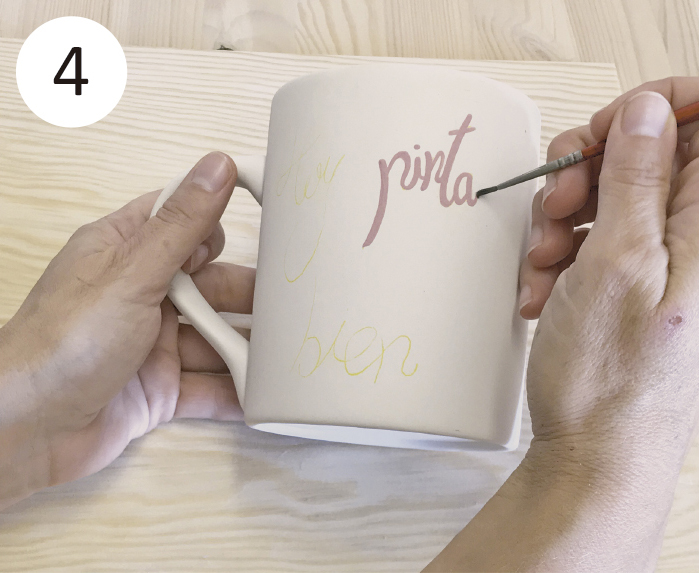
If you have provided a second colour in your design, paint it as in the previous step: following the tracing of your design.
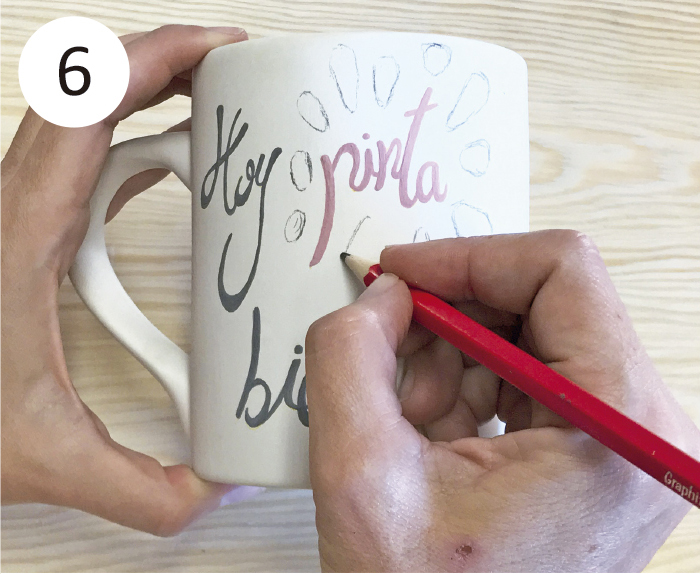
Once the design is painted, draw any details you want to add.
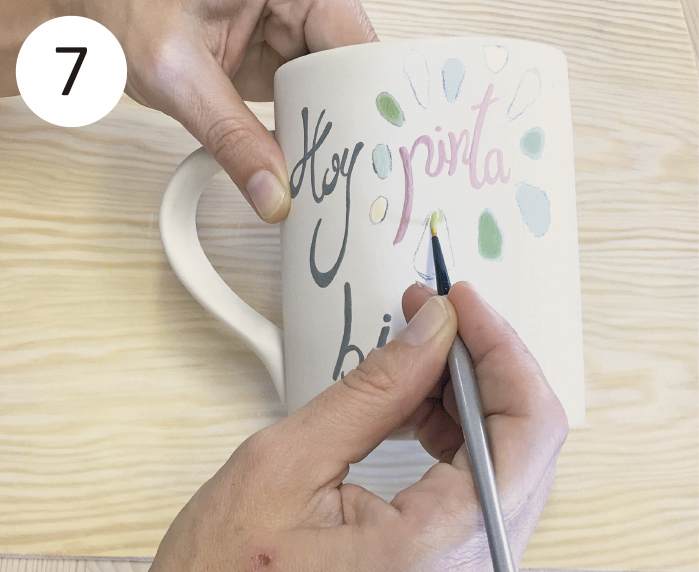
Paint the details with ceramic glaze.
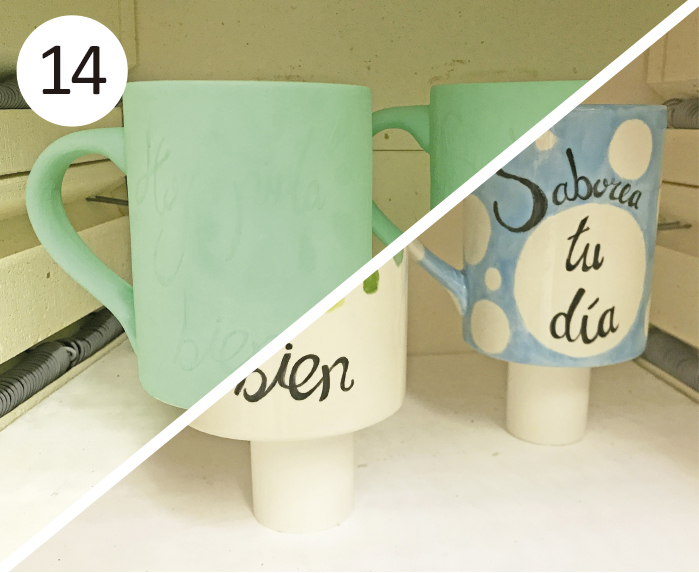
Let all the elements you have painted dry. You will see that the glaze is dry due to the colour change.
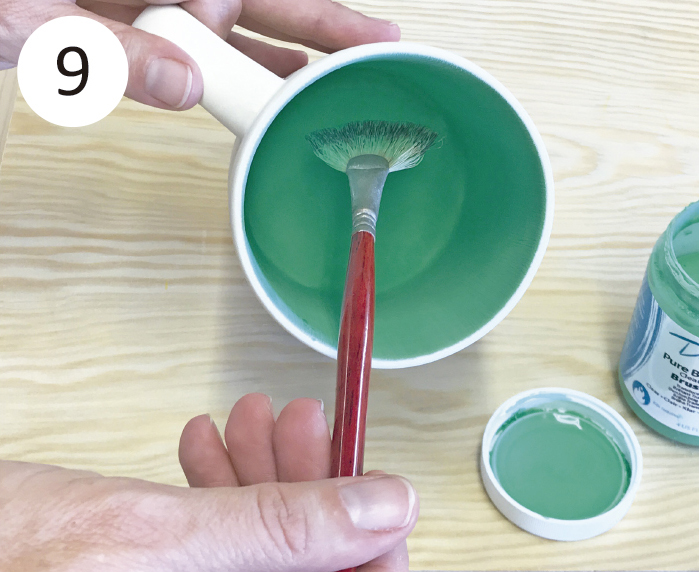
Cover the entire mug with clear glaze. Start inside. Apply 2 or 3 coats. Check the manufacturer's recommendations for each type of glaze.
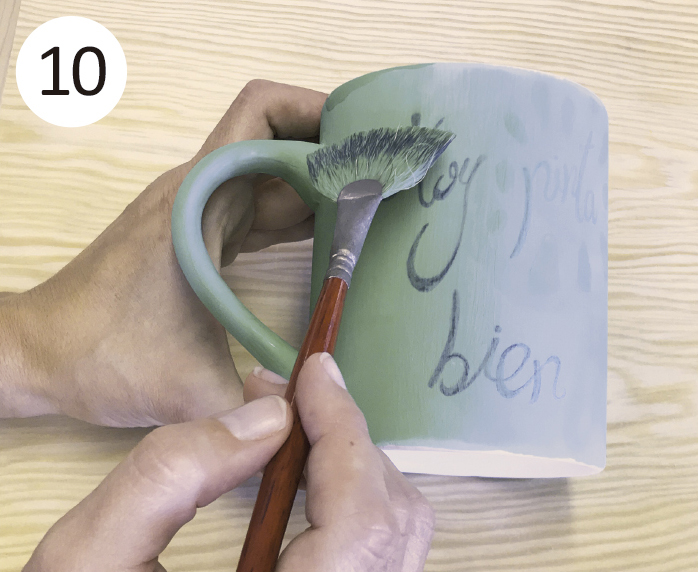
After painting the interior, paint the exterior, also covering the drawings. We will leave to paint only the base of the piece.
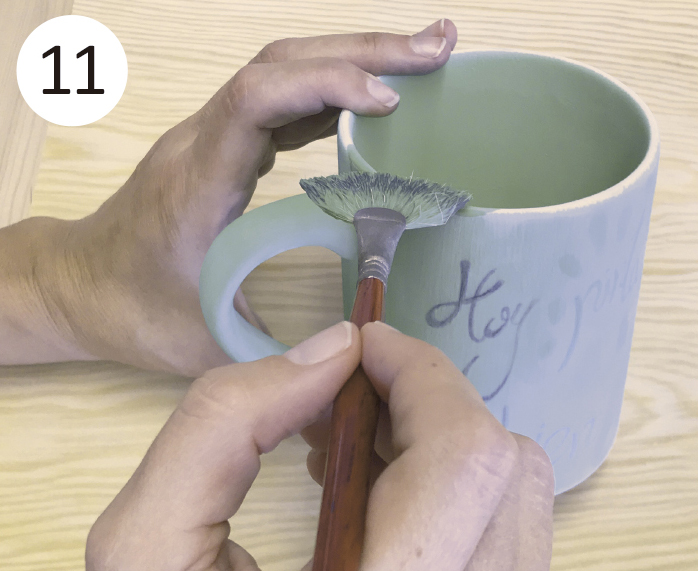
Paint the top rim of the mug to match the inside with the outside.
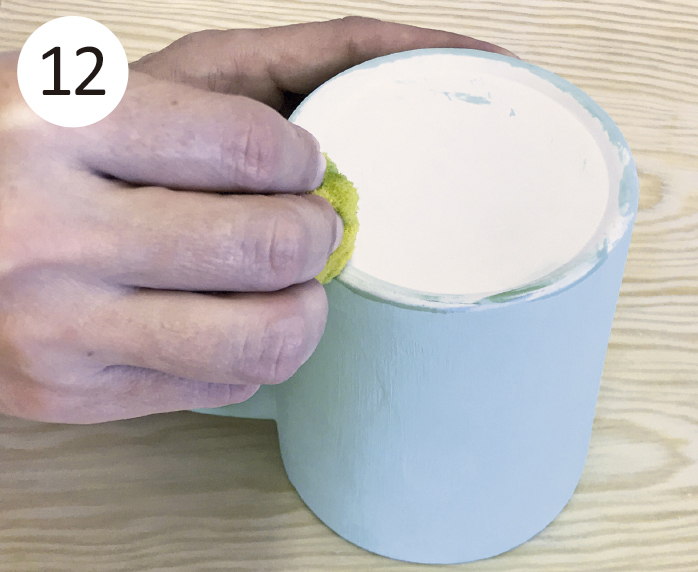
After painting the mug, go over the base of the piece with the damp sponge to remove any remaining glaze. The base must be free of glaze to prevent the piece from sticking to the kiln when fired.
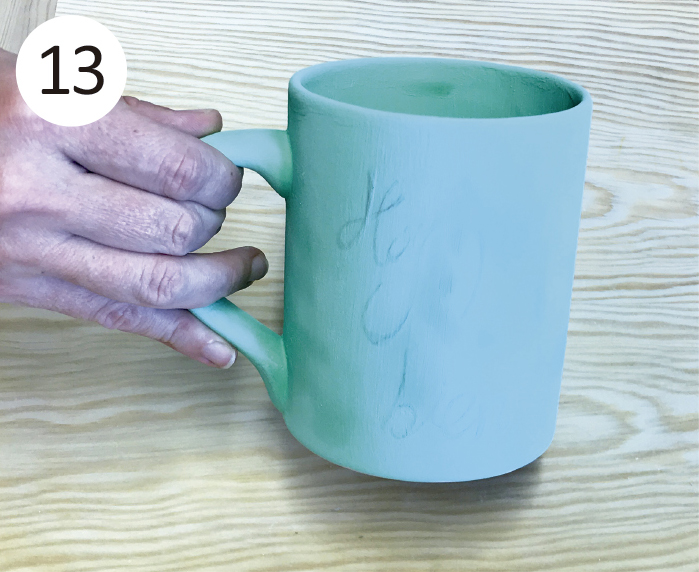
Let the piece dry calmly. You will see that the glaze is dry due to the colour change.
Take your piece to be fired in a ceramic kiln. Check the list of firing services closest to your home.
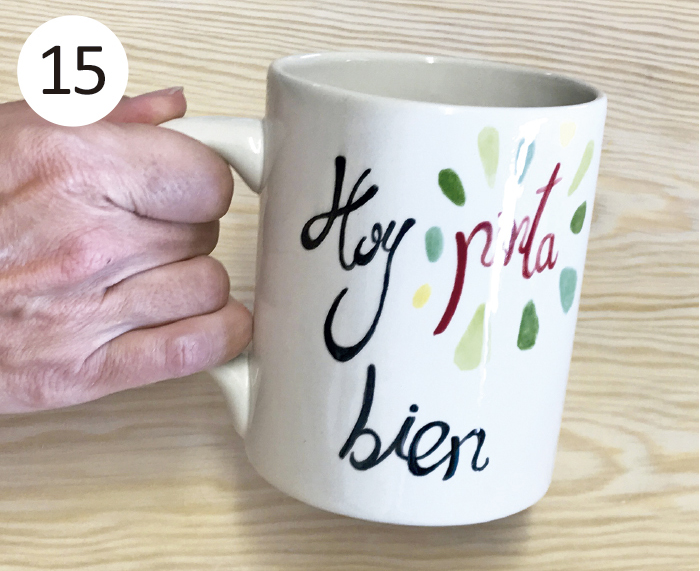
Once fired, the personalized mug is YOURS FOREVER!
With the collaboration of @batecsartistics
Comments (0)
No comments at this moment
New comment
You need to login or create account
Save products on your wishlist to buy them later or share with your friends.

Comments (0)